Build Robots Create Science
(BRiCS): A hands-on learning initiative from IIT Kanpur
PrISM: Programmable Interface for Sensors and Motors
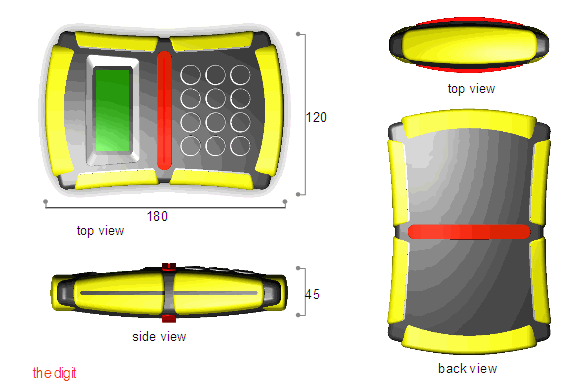
 Product design
This is a small interface with which kids can learn to program
real robots.
In most Indian schools, computers are a scarce resource. The idea behind
PRiSM is to provide an interface that can be programmed without really
needing a computer.
The objective is that the students should build their own robot (they can start
with our Wall following robot kit), connect the
sensors and motors to the PRiSM, and then program in different
behaviours.
Design
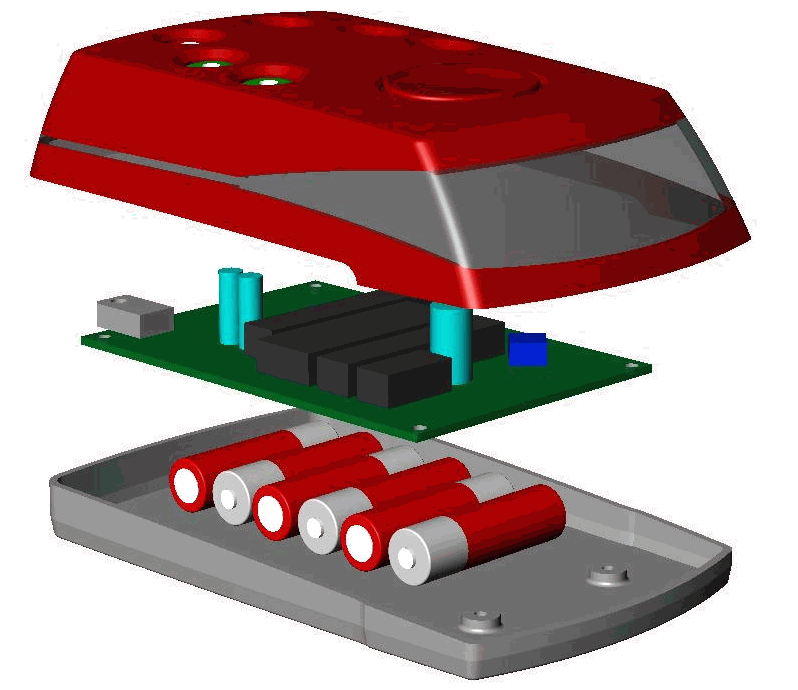
PRiSM consists of two parts:
- The main controller box with a power supply (batteries), a small display,
and a set of buttons for programming.
- Touch sensors and Light sensors that can be interfaced.
The controller is the heart of the PrISM system. It incorporates a 8051
microcontroller and a set of keys through which you input a program.
(a sample program is shown below). You can read more on the design of
the controller in this design
document by Sarala Verma, Rituraj Singh and Amit Mukerjee.
 Video of prototype run (8MB MOV)
Sample Program

Keypad layout for PrISM
The 16 keys in the keypad either record a command or value for the program, or
help in storing / running programs. So pressing the
MOTOR_SELECT button repeatedly will go through the selections MOTOR_A,
MOTOR_B, MOTOR_AB, MOTOR_A-OPP-B (If there is only one motor connected, it
will have only one choice). The curved arrows determine direction of motor
rotation. Pressing the IF-WHILE key (it cycles through IF/WHILE/FOR) and
then SENSOR_SELECT is a
decision step, which needs to be followed by two statements; if the
SENSOR is true the first will execute, else the second.
Motors and sensors are selected by repeatedly pressing the Motor-select or
Sensor-select. The parentheses keys define blocks of commands. Numbers
are obtained using an increment and decrement key. The cursor and erase
keys help editing; the Prog_start, and Run keys are for storing and running
the program.
For example, the following program will move a car forward. It has two
motors, A and B, and only one sensor, a touch sensor on the front bumper.
It will keep
going forward while the touch sensor is not active
(both motors A and B rotate CW for 5 seconds at a time). When the sensor is
pressed, both A and B
will reverse for 5 seconds, thus moving away from the obstacle, and then
it will turn away to a new heading (only motor A for 1 second)
	PROG_START
	WHILE NOT SENSOR (MOTOR_AB CW 5)
	      (MOTOR_AB CCW 3  MOTOR_A CW   1 )
	PROG_END
After punching in this program, pressing RUN will cause it to execute.
A prototype has been
programmed and tested
with this interface (see video above), and we have also completed a product
design, but
the product is still under development.
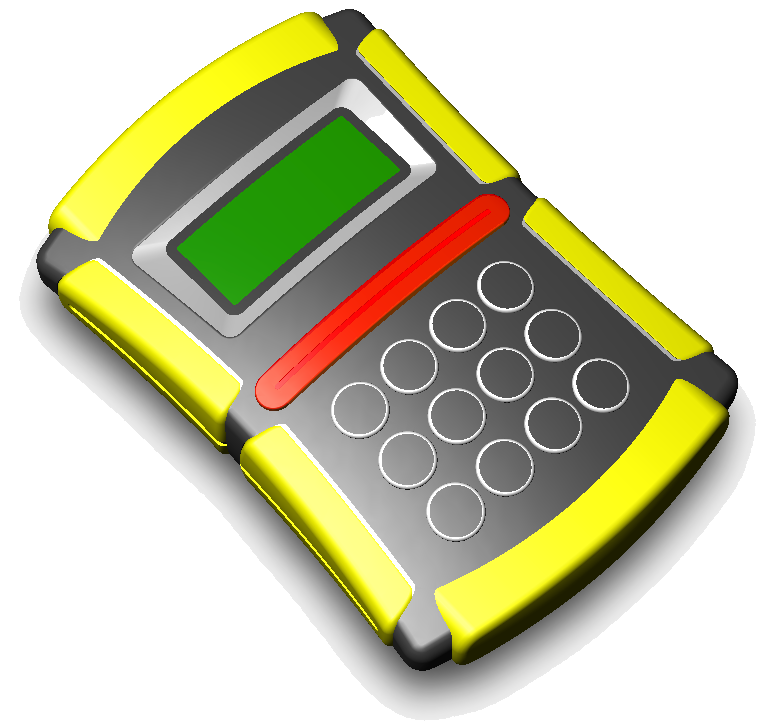
Product Design
We asked industrial designers Ameya Khandekar, Abhijit Bairagi, and
Girish Lone to create a product design for us. They came up with several
ideas.
 The concept we finally converged on is based on the
metaphor of the LED "digit". Here's what it looks like:
The concept we finally converged on is based on the
metaphor of the LED "digit". Here's what it looks like:
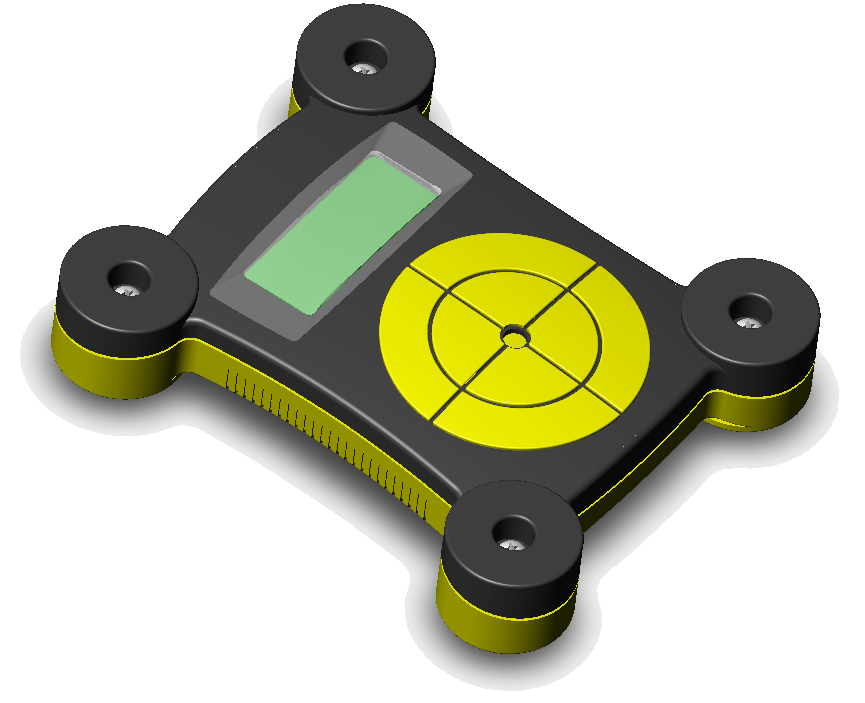
 We are currently in the process of prototyping the shells and migrating the
electronics to the new design.
We are currently in the process of prototyping the shells and migrating the
electronics to the new design.
[BRiCS page at
iitk/robotics/] [BRiCS page at iitk.cse/]